Why EPDM Fails Where It Does
Before any meaningful comparison of repair options, you need to understand what is actually breaking. The black rubber field membrane is remarkably stable. UV exposure, hail, and foot traffic rarely puncture a healthy EPDM sheet on their own. What fails first is almost always one of three things: the seam adhesive between sheets, the flashing where the membrane turns up a wall or curb, and the boots around pipes and HVAC penetrations. Older EPDM installed with seam tape (rather than modern factory laminated tape) can begin separating at 12 to 15 years, especially on roofs with ponding water or heavy mechanical activity.
The second pattern is shrinkage. EPDM contracts slightly as it ages, and on roofs over 15 years old that shrinkage pulls flashings tight at corners and parapet walls. You will notice the corners lifting before the seams open. A leak that started as a hairline crack at a parapet corner can travel ten or fifteen feet across the deck before it drips into the building below. This is why finding the true origin of a roof leak matters more than how fast someone can apply sealant.
A third, often overlooked failure pattern involves the rooftop equipment that was added years after the original roof went down. Satellite dishes, new condenser units, solar conduit, and grease exhaust fans almost always introduce penetrations that were field detailed rather than factory engineered. These retrofitted boots and pitch pans are where we find a disproportionate share of leaks on otherwise serviceable Carmel Arts District roofs, and they are easy to miss during a quick walk because the damage often hides under the equipment curb itself.
The Real Comparison: Four Repair Paths
Once the failure mode is identified, you generally have four options on an EPDM roof: a targeted patch, a seam reseal across a wider area, a fluid applied coating system over the whole roof, or a full tear off and replacement. Each carries a very different cost, lifespan expectation, and risk of recurrence. The table below reflects what Carmel Arts District commercial roofs typically run, assuming average access and a roof in the 8,000 to 15,000 square foot range. Smaller roofs and difficult access push the per square foot numbers up.
| Repair Path | Best For | Typical Lifespan | Risk of Recurrence | Disruption |
|---|---|---|---|---|
| Targeted patch | Single puncture or isolated seam opening on otherwise sound EPDM under 12 years old | 3 to 7 years if membrane is healthy | Moderate if root cause is shrinkage or widespread seam aging | Minimal, hours not days |
| Seam reseal | Roofs 10 to 18 years old showing multiple seam failures but solid field membrane | 5 to 10 years | Low if all seams and flashings are addressed in one pass | 1 to 3 days, weather dependent |
| Fluid applied coating | Roofs 15 to 22 years old with widespread minor issues and good drainage | 10 to 15 years with reapplication | Low if substrate is dry and prepared correctly | 3 to 7 days, requires dry weather window |
| Tear off and replace | Roofs over 22 years, saturated insulation, or repeated failed repairs | 25 to 30 years | Very low when installed correctly | 1 to 3 weeks depending on size |
What the Numbers Actually Mean for Your Building
The temptation when you see this comparison is to pick the cheapest option that sounds reasonable. That math only works if the underlying roof condition matches the repair. A $400 patch on a 20 year old roof with saturated insulation is not a repair, it is a delay tactic that almost guarantees you will pay for interior water damage from the roof leak two or three more times before you accept that the roof itself is finished. Conversely, paying for a full replacement when a $2,000 seam reseal would have bought you another seven years is throwing capital at a problem that did not require it yet.
The decision really hinges on three things: how wet the insulation underneath is, how old the membrane is, and how many failure points exist across the roof. A core sample or thorough moisture survey settles the first question. If more than 20% of the insulation reads wet, coatings and patches become a poor bet because you are sealing water inside the assembly. That trapped moisture continues to degrade the deck and can feed mold growth that eventually shows up as interior damage requiring commercial repair well beyond the roof itself.
Warranty position is the fourth variable people forget. If your EPDM is still inside a manufacturer warranty window, the repair must be performed by a certified contractor using approved materials, or the warranty voids the moment the patch goes down. We have seen building owners spend a few hundred dollars on a field applied caulk repair and lose tens of thousands in remaining warranty coverage in the process. Before any work begins, Carmel Arts District Commercial Roofing pulls the original installation documents when available and confirms what materials and methods will preserve coverage. That step alone often changes which of the four repair paths actually makes economic sense for your building.
The Repair Sequence We Use
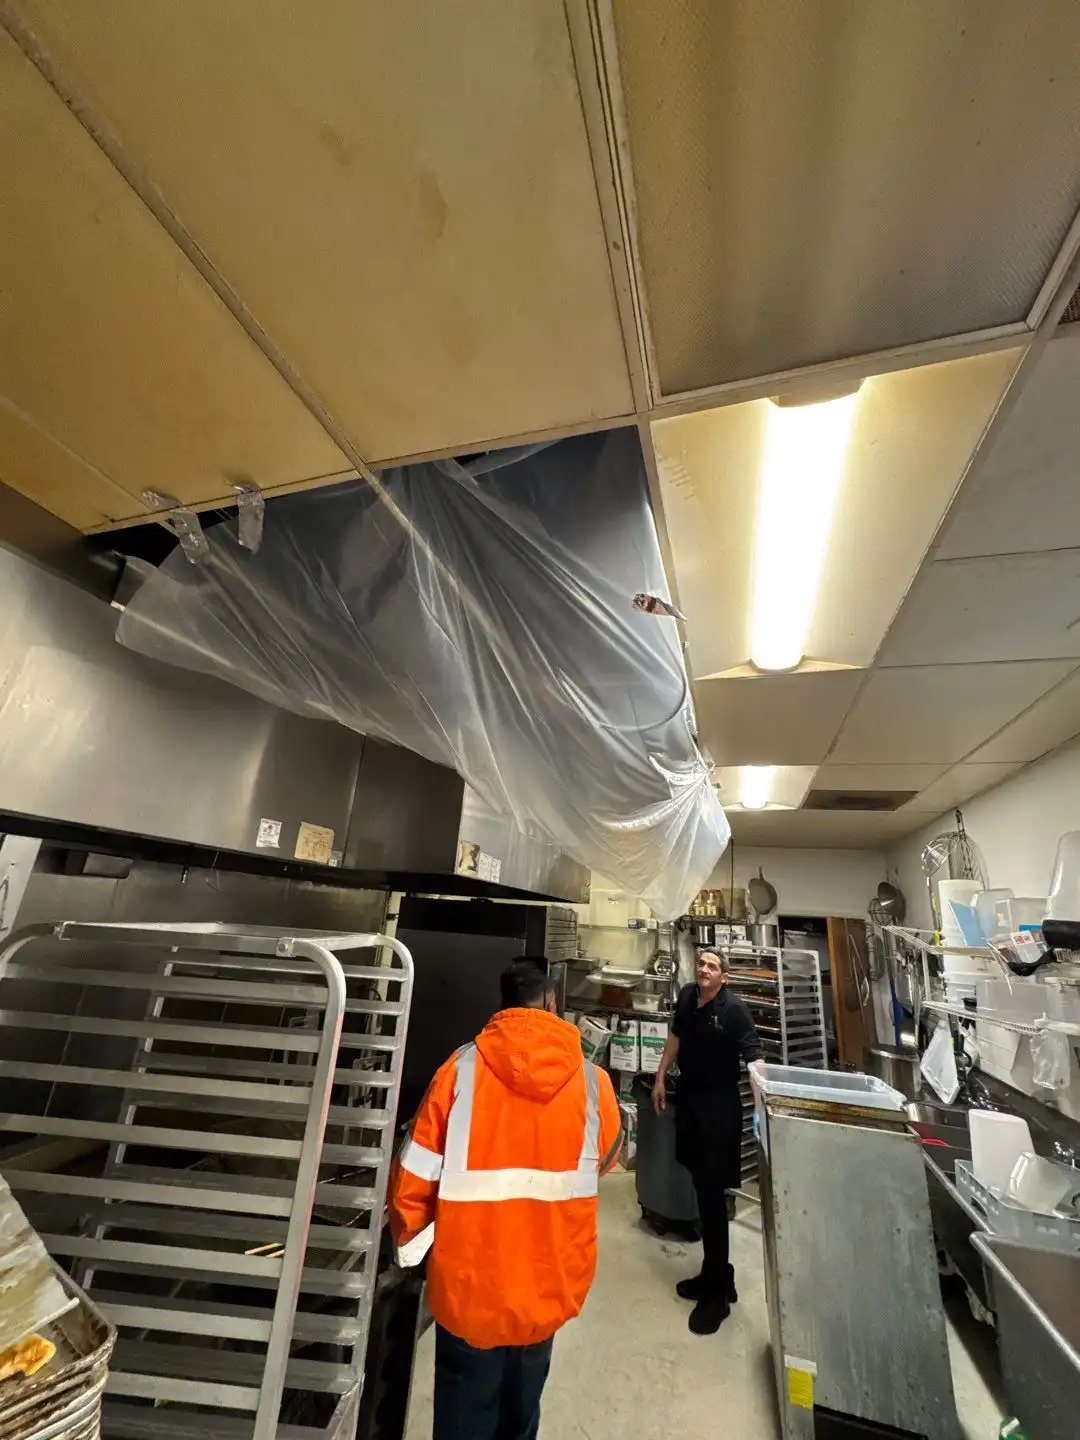
When we inspect an EPDM roof in Carmel Arts District, we start with the interior evidence, trace it up to the deck, then walk the membrane looking for the patterns described above. We document seam condition, flashing height, drain function, and any ponding areas. Only then do we recommend a repair path, and we put the reasoning in writing so you can compare it against any other bid. If you have an active leak right now, tarping and temporary dry in come first so the interior stops taking on water while the longer decision gets made. Severity is assessed over the phone before we arrive, which lets us bring the right materials on the first visit rather than scheduling a return trip for supplies.